Scribing The Stair Riser
STEP - 5
Scribing the stair riser basically means, to cut the riser to conform to an existing surface, such as the stair tread below. When installing the stair riser the first step is to cut it to the right width. The next step will be to scribe the riser if it needs it at the bottom. The third step will be scribing the top of the riser to fit flush with the next tread up.
Steps For Scribing The Bottom Of The Stair Riser
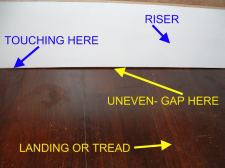
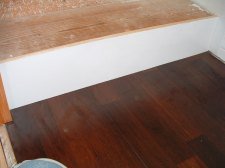
Here is the reason the riser needs to be scribed. In this photo the landing here is not flat, it has a dip as you can see in the middle and the ends are touching. Scribing the riser is a lot less work than rebuilding the landing to make it flat.
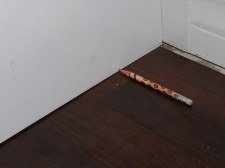
This is the simplest way to scribe this riser. I hold the pencil flat on the surface and move it across, this follows the the contour and transfers it to the riser.
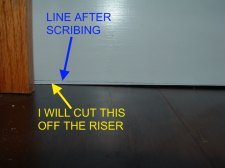
Now I have a line on the riser that I will cut. I like to use a table saw to cut this so it will be a clean cut. A jig saw may look a little rough.
After marking the bottom of the riser with the pencil I use the table saw and cut along the line. This needs to be done slow as the blade will want to bind up when cutting on a curve.
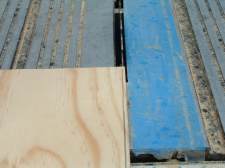
This is the finished riser after I cut it on the table saw. The only alternative to scribing the riser is to use quarter round to hide the gap. I don't think quarter round looks very good on stairs.
Return to STEP - 4
Return to DIY on Stairs Page From Scribing The Stair Riser Page
Return to Home Page From Scribing The Stair Riser Page
| SEARCH THIS SITE
|
