Installing Baseboard, Remove And Replace Or Install New
You may be installing baseboard or removing and reinstalling your existing baseboard, you need to determine what your going to use to cover the expansion gap around the walls if you installed laminate or hardwood flooring. You have a few options here. I will show you how to remove and replace the existing baseboard or how to install new baseboard. The other option would be to install quarter round on the existing baseboard to cover the gap between the laminate or hardwood flooring.
Removing Existing Baseboard
Removing the baseboard so you can reinstall it after the new flooring is installed is one way to save some money. It saves you from having to cut each piece when installing new baseboard but you will have to put time into cleaning the old baseboard and maybe repainting it.
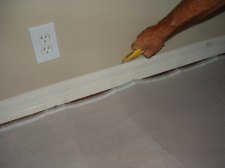
When the baseboard was originally installed most likely the top edge was filled in with chalking to cover the space. You need to cut along the top edge where the baseboard meets the wall with a utility knife, that has a point. If you do not cut the chalking away from the wall, when you pull the baseboard away you will rip the paper on the drywall. This means more work for you.
Getting the baseboard loose from the wall
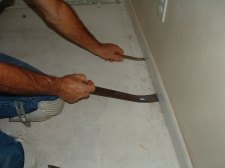
To remove the baseboard from the wall you may think that using a pry bar at the top will work. I have found that doing it this way can sometimes push the drywall in and then you will have to patch it. The best way is to use a small thin pry bar at the bottom, find a spot where you can work it under the baseboard and pry it up enough to get a larger pry bar under and then you can pry it loose with the larger pry bar.
Pry the Baseboard from the Back
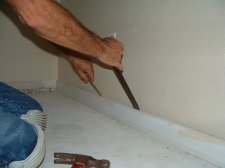
After you have the baseboard loose from the wall pry it away from the wall from the back. Do not push the pry bar but pull it towards you. This way you will not put pressure on the drywall which could push it in.
After removing each piece of baseboard mark the back with a number and mark on the wall where the base board was with the same number. This way when its time to reinstall the base board there will be no guess work as to where each piece goes.
Preparing the Baseboard for Reinstallation
Remove all the nails from the baseboard and any nails that are still in the wall. You can use nail pullers or even a pair of pliers. Pull the nails out from the back of the base board.
Next you will need to remove the old chalking from the baseboard that was used when the base was originally installed. There will be chalking on the top and most likely some on the back that will need to be removed.
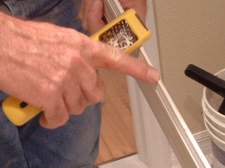
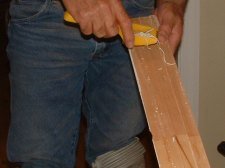
You could use a utility knife to do this, but it is a little dangerous and the knife tends to cut into the wood base board. I like to use a rasp which is much safer and inexpensive to purchase at Home Depot or Lowes. Use the rasp on the top and along the back of the base to remove all the old chalking.
Painting the Baseboard
When installing baseboard, you may not notice how beat up base board can get until you remove it and hold it in your hands.
After going through all the trouble of removing the base and cleaning it, giving it a nice coat of paint will really set off your new flooring. Try not to skimp on the quality of paint as it does take a lot of abuse over time. I like to use a semi gloss or high gloss latex paint. Oil paint is not used as much as in the past, and it needs to be cleaned with mineral spirits.
Before painting wipe it down with a damp rag to remove dirt and dust. Using some sandpaper to smooth it down will also give it a newer look once painted. Don't use a sandpaper that is too rough as it will leave scratch marks. If the old paint has a high gloss you may need to prime it first with a high quality primer.
When painting keep an eye out for runs that may form on the bottom edge of the base board. This will cause the base board to not set flat on the laminate or hardwood flooring.
Reinstalling the Old Baseboard
Reinstalling the old baseboard is basically nailing each piece where it was previously installed. When I install baseboard I like to use a 2 inch 15 gauge nail. It is a lot easier to use a nail gun then to hand nail it. The gauge determines how big around the nail is. 18 gauge is smaller than the 15 gauge. If you have to hand nail the baseboard use a nail punch after nailing to counter sink the nails so they can be covered with chalking.
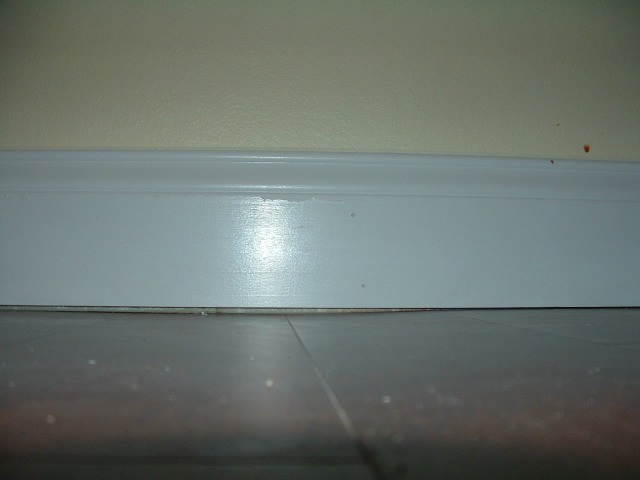
One of the problems you may have to deal with is either the baseboard is not straight or the floor is not flat. The problem this causes is when you go to install the baseboard on the new wood flooring, the baseboard may not sit flat on the floor. It leaves a gap between the baseboard and the new flooring, which is unsightly. If you took up carpet and installed laminate or hardwood flooring you may not have noticed this before as the carpet hid the gaps.
If the gaps bother you, you can get rid of them by either getting baseboard that is straight or scribe the baseboard to fit the contour of the floor. Here I describe how to scribe a stair riser which is the same principle as scribing the baseboard. The only other ways that I know of to hide the gaps are to install quarter round on the base board or chalk them in with some chalking.
Sometimes the gaps aren't too big. In this case what you can do is to push down on the top off the baseboard as you nail it. You can use a piece of wood or what I like to use is my tapping block to do this.
Return to Home Page From Installing Baseboard Page
| SEARCH THIS SITE |
