Instructions For Installing Laminate Transitions
The process for installing laminate transitions can vary depending on the product you purchase. The method in which the transitions are fixed can also vary.
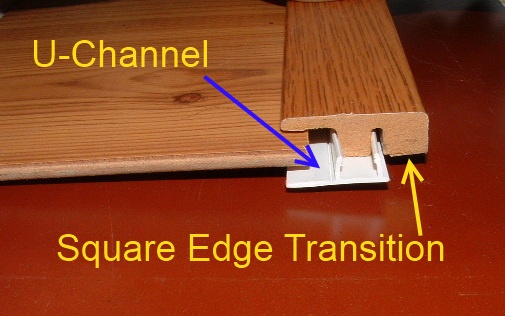
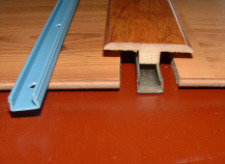
Most of the transitions I have installed come with a shaped strip that is fastened to the floor. The transition then snaps into the U-shaped channel.
How to calculate the amount of laminate transitions you may need.
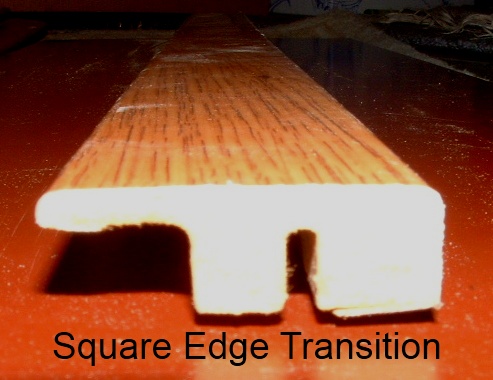
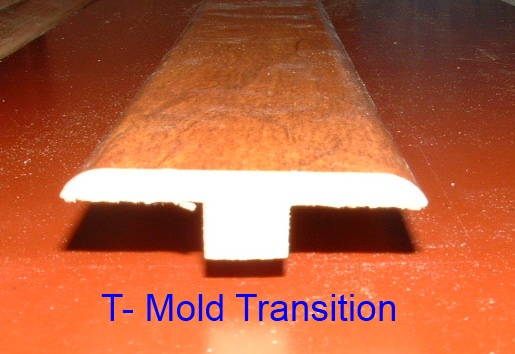
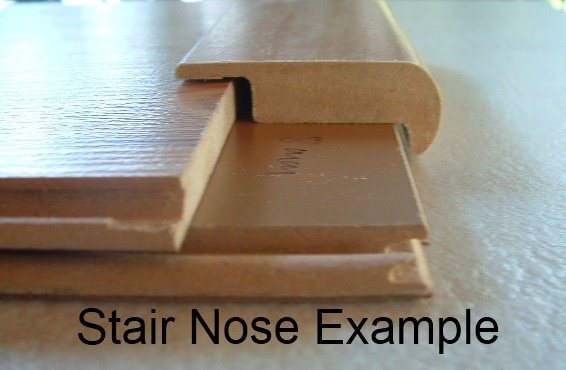
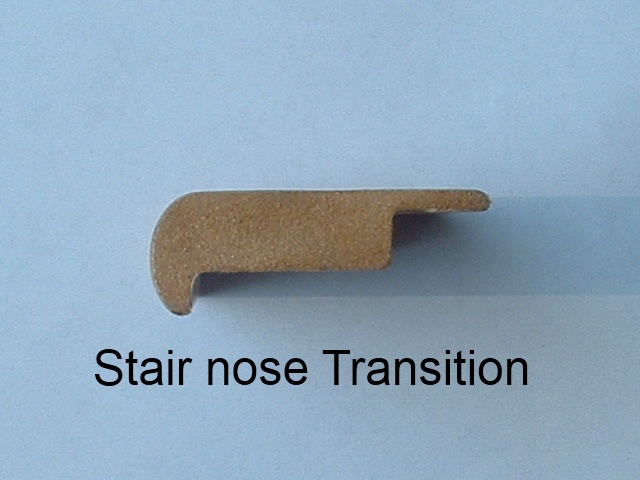
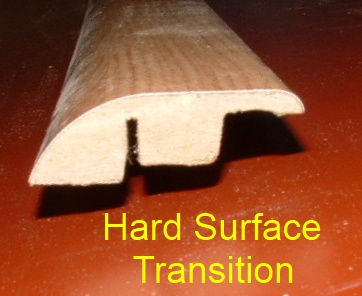
Different Types of Transitions
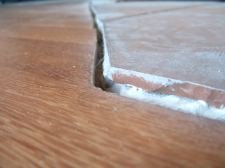
There are times when the U channel cannot be used, example: The flooring you are transitioning to is higher than the laminate your installation, as in this photo to the left. In this case the mold will have to be modified and glued.
How to finish off the carpet to a laminate transition.

Installing Laminate Transitions T-Mold on Concrete
Most of the transition moldings come with a track that needs to be fixed to the floor first. If your sub floor is, it's a lot easier to install the track.
The placement of the molding needs to be considered beforehand. In an opening with a door you want the molding to be directly under the door when the door is closed. If there is carpet outside the room where the laminate is installed, you want the carpet to stop at the door when it is closed.
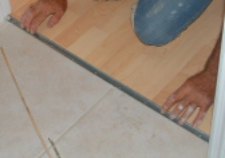
Most of the time I install the track after the laminate is installed. I do this to allow me to have more room when I install the last plank up to the doorway.
In this case I am going to explain how to install T-mold between laminate and ceramic tile.
Tools Needed
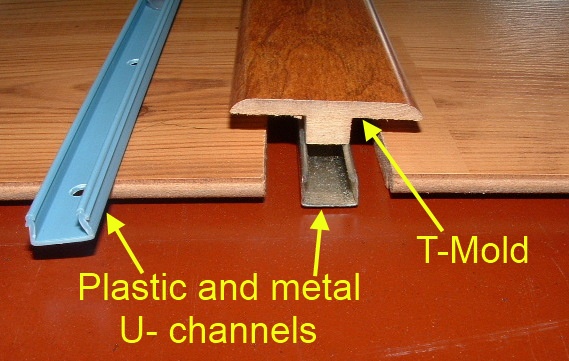
In this photo you can see how the T-mold will fit into the track. The tracks come in metal and plastic. Notice the expansion between the track and the laminate flooring.
Placement
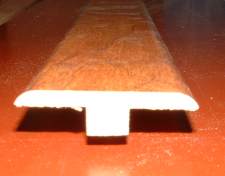
The very first thing I do when installing laminate transitions is to cut a sample of the mold I'm going to install. I use the sample to determine exactly where the track will be placed within the doorway.
I position the sample in the doorway so it is under the door when its closed. I make two marks on the floor where the tab from the T-mold is on each side of the doorway. (the tab is the bottom part of the T-mold that fastens into the track)
When I install the T-mold between these marks on each side of the doorway I know it will end up exactly where I want it.
Installing the Track
The tracks usually come with some screws and plastic inserts for installing the tracks. The problem I have found with the plastic inserts is if you don't drill the hole in the exact spot your track can end up curved. Using dowels will give you some play to move the screw around to keep the track straight.
Cut the track to fit the width of the doorway. I like to leave a little space on each end, about 1/4 or an inch. At this point if your floor is wood you can screw the track down now. Use screws that don't have too big of a head. If the screw sticks up too high the mold will not seat down far enough. If you have the screws sticking up, you can always mold the molds underneath the mold.
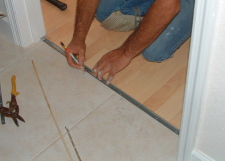
Hold the track between the marks made on each side of the doorway and mark with a pencil in the pre-made holes in the track, one on each side and two in the middle. I also make marks on the ceramic tile to help me position the track before I screw it down.
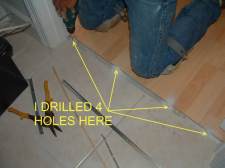
Next drill the holes with a 1/4 inch masonry drill bit where you made the marks on the floor. Drill each other with a little deeper than the length of the screws. I put a hole in each end not too far from the door so the ends won't lift after the molding is snapped in.
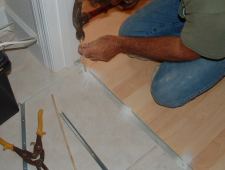
Next insert the dowel into the hole and insert it with a hammer and snap it off at the bottom. Make sure there is no sticking up above the concrete. If there is scrap it off with a chisel or screw driver.
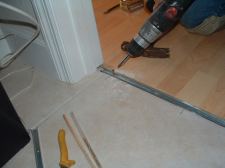
Secure the track to the floor with wood screws. Don't use screws that are too long. I like to use 3/4 inch screws.
After the track is installed we need to cut the transition mold to fit.
Cutting The Transitions Continued on Page 2
| SEARCH THIS SITE
|
| OTHER TYPES OF TRANSITION PROJECTS |
