Installing Laminate in Travel Trailers
Installing laminate in travel trailers can take more effort then a normal laminate installation. The one I did had slide outs.
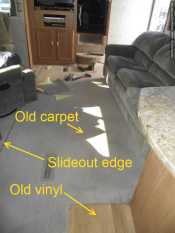
Usually the factory installed flooring has to be removed first. When they build these RV's they don't pay attention to future floor replacement. They use staples like you wouldn't believe. The carpet is stapled everywhere. Along the walls or where the carpet meets vinyl. And they build walls and even cabinets over the carpet.
Preparing a travel trailer for laminate flooring can be half the work.
This particular laminate flooring I'm installing here is Quick Step Home Sound with the attached padding. The thickness of this laminate itself is 7mm, that doesn't include the padding.
CLICK ON PHOTOS TO GET A BETTER LOOK
Its a good idea to ware gloves when ripping out the old carpet because the staples are sharp and can cut your hands easily. I used a grinder to grind the staples down that were left in the floor. If you don't have a grinder you may have to pull them out with some pliers or nail pullers. Or sometimes use a 4 inch scraper with a dull blade to scrap the staples on a plywood sub floor.
When installing laminate in travel trailers, most times the carpet is stapled along the walls, so after you pull the carpet up your left with staples and some carpet along the edge of the wall. You can bang staples down with a hammer if there is no carpet attached.
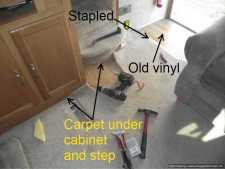
Here I had to use a carpet knife to cut along the edge of the cabinet and around the curved step. I had to use pliers to pull any carpet or padding that was sticking out.
It doesn't have to be perfect, the edges will be covered up with quarter round.
Everything here was installed over a wood grain vinyl floor.
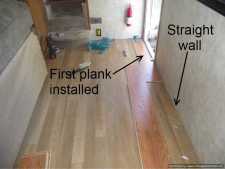
The best place to start is on a straight wall. This wall had the door so the first plank was the door way. When starting at the door you need to make sure that first row is straight along the wall. In this photo you can see I connected a temporary plank to the door plank so I could get a measurement to make sure the first row was even with the wall. I make slight adjustments to the door plank to make it even with the wall.
When you start most laminate installations getting the first row straight will make the rest of your floor look good. Providing the rooms are somewhat square, which isn't always the case.
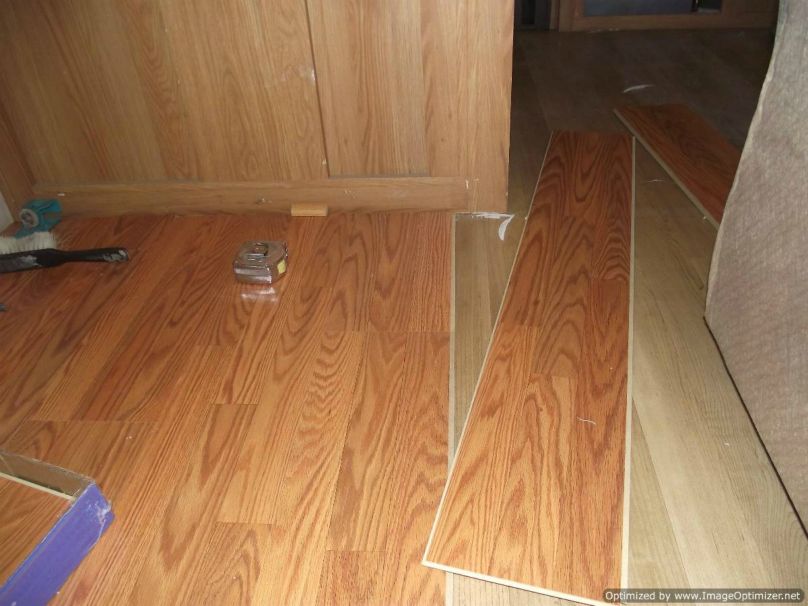
After getting the first row set. I continued to install the laminate up to the cabinet at the other end. The whole time I am installing this I keep an eye on the laminate to make sure it stays straight along the wall.
The next board to be installed will have to be cut to go around the cabinet.
Save up to 80% on Quality Laminate Flooring with BuildDirect
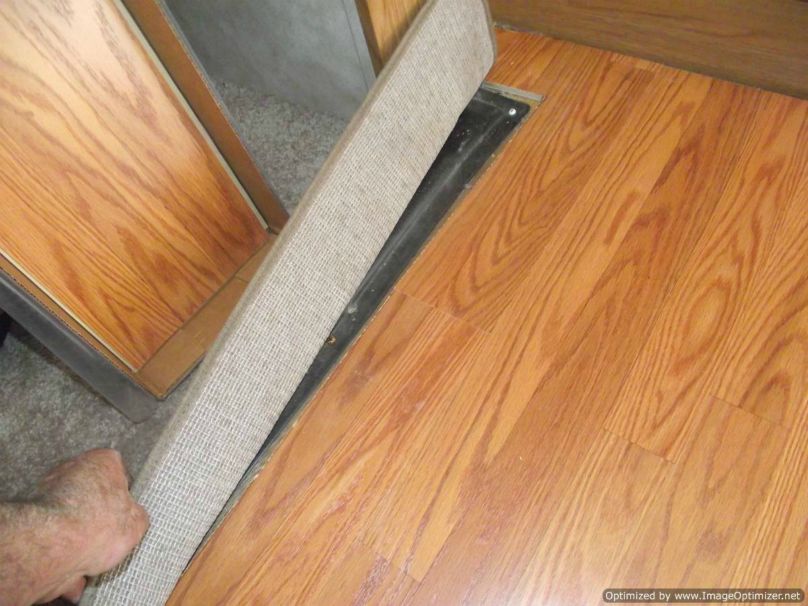
I installed the rest of the laminate over to the other side up to the slide out. In this case it has a bound carpet that overlaps the laminate.
As far as the slide out affecting the laminate, I'm not real sure how its going to work. My client said that he slid it in and got a little scratch, but he thinks there might have been something on the floor that caused it. He said that the next time he is going to lay throw rugs where the rollers are.
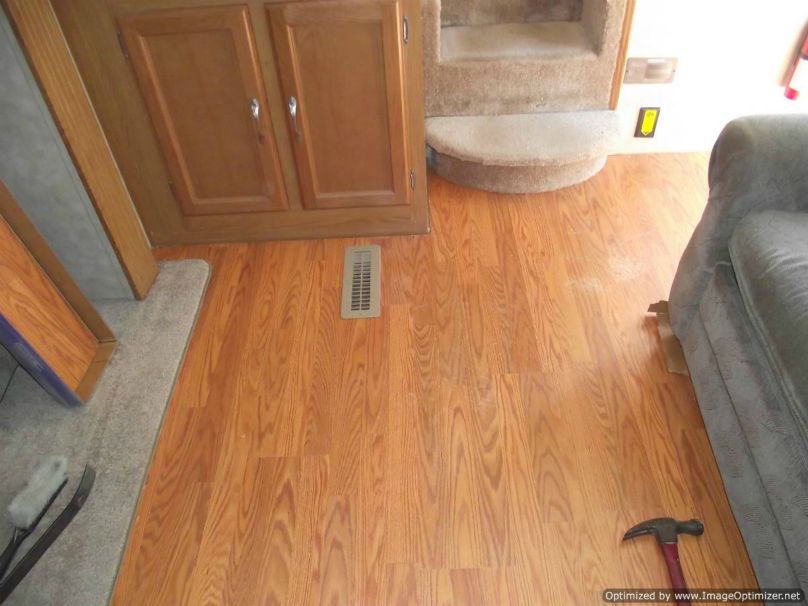
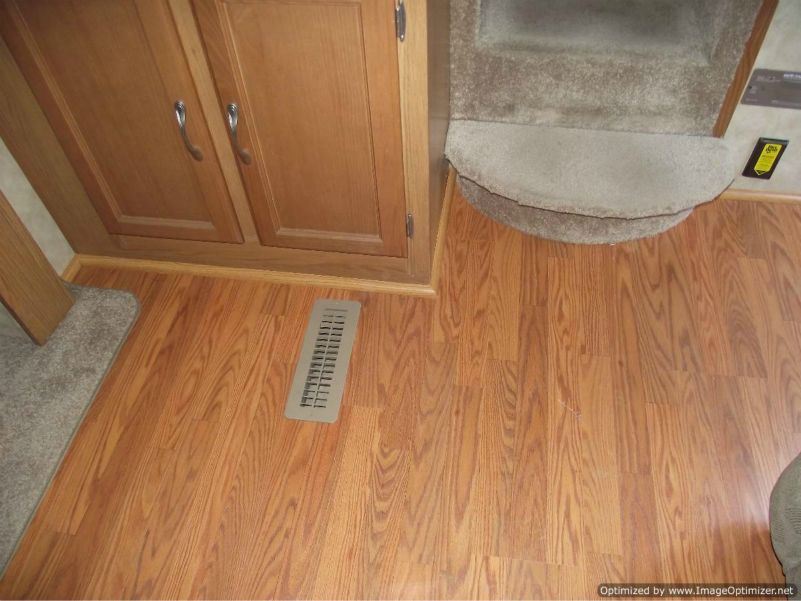
At the one end there was a step. Here I was able to slide the laminate underneath it a little as there was just carpet and padding under it. This should be fine as far as expansion goes. It looks really nice this way.
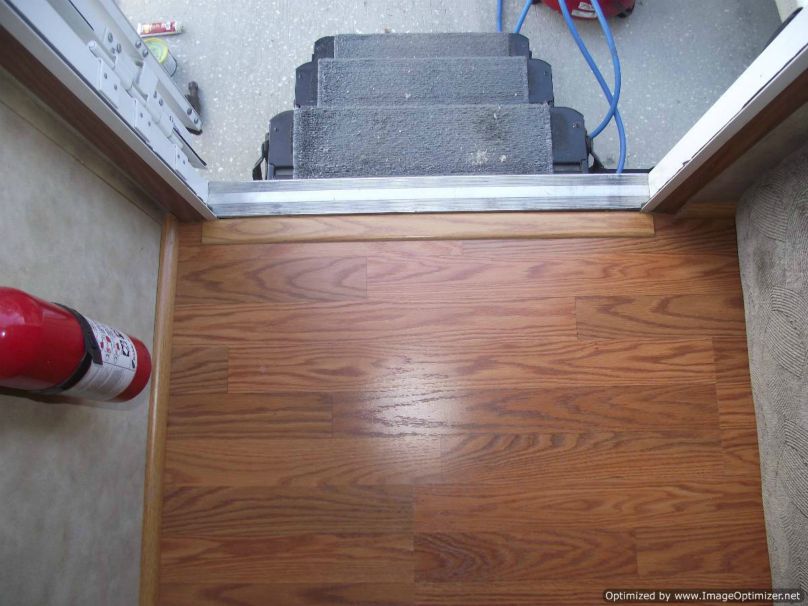
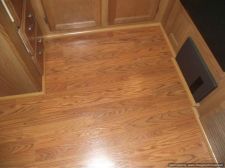
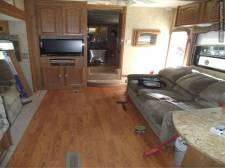
The last thing to do is to install the quarter round and the transition at the entry door. Here are some of those finished photos.
Return to Installing Laminate in Mobile Homes Page
| SEARCH THIS SITE |