Installing Stair Risers
STEP - 8
CLICK ON PHOTOS TO ENLARGE
Installing stair risers can be fairly simple after you get it cut to fit tight on the sides, and scribe the bottom if needed. And have the top of the riser cut so the stair nose sits level.
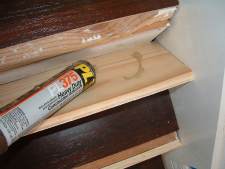
I use a good construction adhesive to glue the riser on.
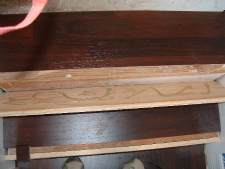
Here you can see I have applied the construction adhesive. I use a fair amount to assure a good bond. There are many brands of construction adhesive on the market almost any brand will do the trick.
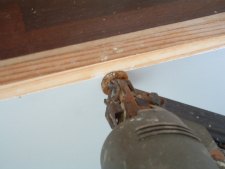
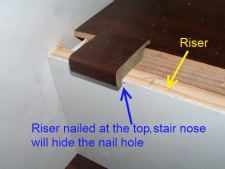
After the glue is applied I use a nail gun with 15 gauge nails by 2 inches long to secure the riser. As you can see in this photo I'm nailing as close to the top as possible. The stair nose over hangs here and will hide the nail hole. I nail about 4 to 6 nails across the top.
Double check your stair nose before nailing the riser to make sure it is going to sit level.
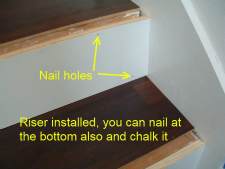
When installing the stair risers I like to nail in places where you will not see the nail holes. Here you can see how the stair nose covers the nail hole.
I do nail a couple places at the bottom of the riser to make sure the bottom isn't kicked out, just to make sure it will stay secured. You can chalk these in with white chalk or if your installing a wood riser you can use a matching putty to fill the holes.
STEP - 9 Installing Stair Nose Molding
Return to DIY on Stairs From Installing Stair risers Page
| SEARCH THIS SITE
|
