Swiftlock Plus by Shaw Review
Sold at Lowes
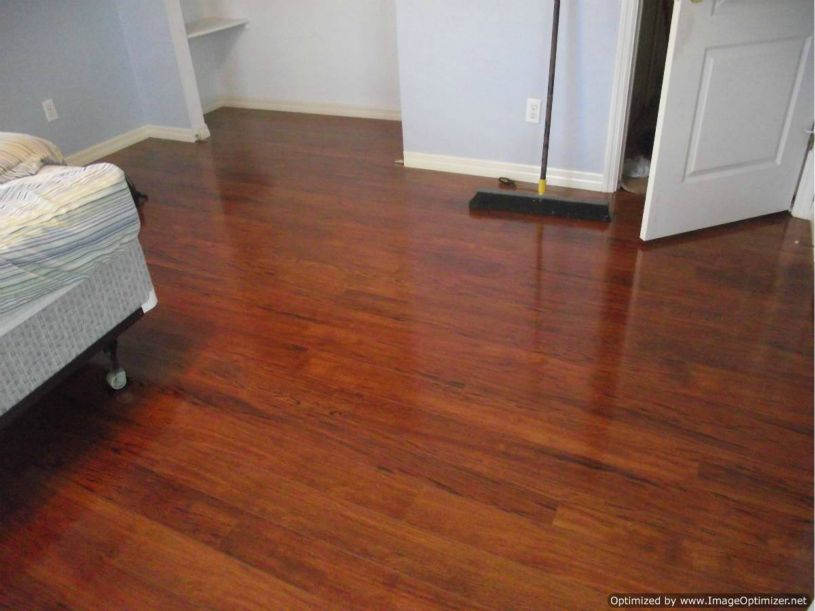
This Swiftlock Plus by Shaw review is based on me installing a couple hundred feet in a bedroom. To be honest with you I'm glad it wasn't a whole house full. Its not the easiest laminate to install. It has a drop and lock locking system. It uses a plastic insert on one end that locks the ends together. Pergo used the same system on Casual Living laminate from Lowes.
CLICK ON PHOTOS TO GET A BETTER LOOK
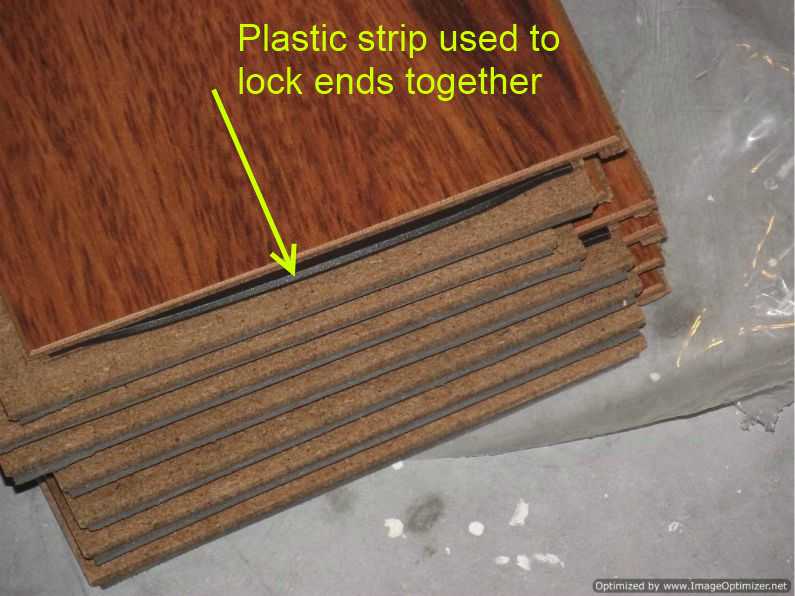
What you do to install the product is to engage the long side first holding the board at and angle, then slide the plank up to the end of the adjoining plank and drop the end down. When you drop the plank down the plastic strip is there to lock the ends.
I had some problems when dropping the end down. Several times the end wouldn't go down flat. I tried hitting it with my hand and it just wouldn't work. A few times I had to take up the row and replace the plank I already layed. It was kind of irritating having to do this. It added time to the job.
Iv'e seen signs that indicated that Swiftlock was made by Armstrong. But now this is the first Swiftlock I have seen that shows Its made by Shaw on the label.
Its listed under High Gloss Exotics. The style is Acapella, the color of this Swiftlock is Jatoba. The surface has a high gloss. The planks are 8mm thick with a 2mm attached padding. It has a 30 year warranty, which includes wear, fade and stain. Durability is rated AC3, AC5 is the most durable. Their locking system is called LockNPlace.
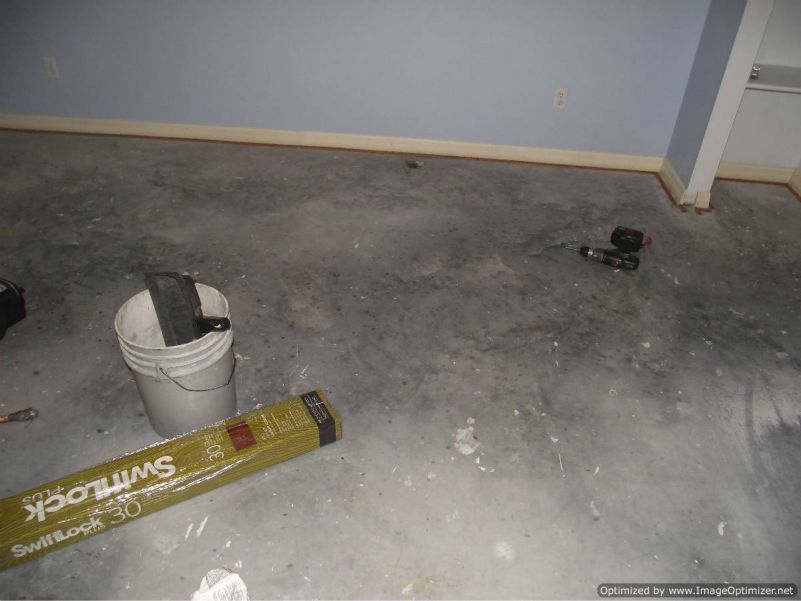
The cost is about 2.49 as of Jan. 2013. This flooring was installed over concrete, so it requires a vapor barrier which cost 14.98 for 100 square feet. That is .15 per square foot.
In this video I made when installing this Swiftlock Plus flooring, I thought it would be a nice video that shows how the bords connect. Well as you will see it didn't go as I planned. It did take some extra time to do this and the boards did connect but I think it would be harder for a do it yourself person to do.
The locking system on this laminate does not allow the planks to be tapped together when laying flat next to each other. The planks have to be tilted at an angle to lock the long sides together.
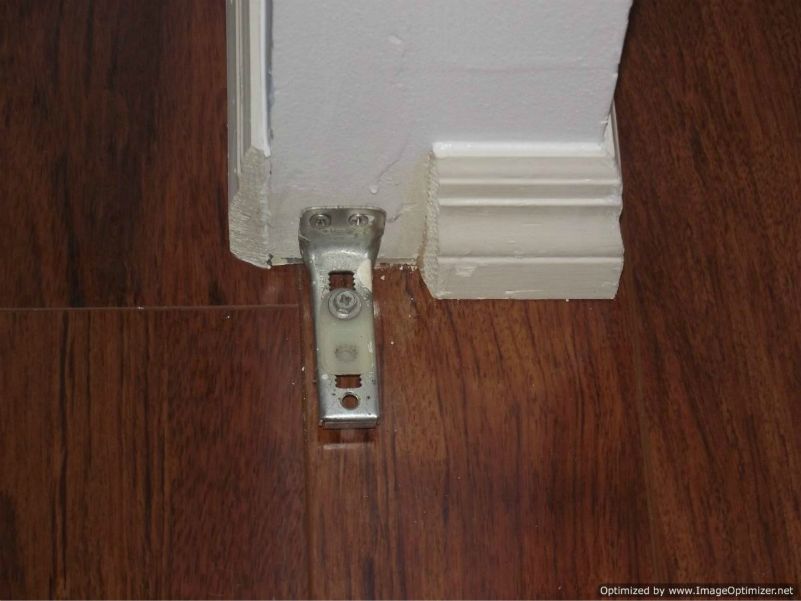
So if your installing this laminate up to a door jamb, you can't tilt the plank up and slide it under the door jamb. What you have to do is shave off the locking ridge on one plank and glue the boards together.
When you shave off the ridge on one of the connecting boards, then you can slide it under the door jamb and put glue in the grove and use a pull bar to pull the planks together while they are laying flat. I use Elmers wood glue.
When doing this bedroom I intentionally started at the doorway so I could slide the first row underneath the door jamb.
CLICK ON PHOTOS TO ENLARGE
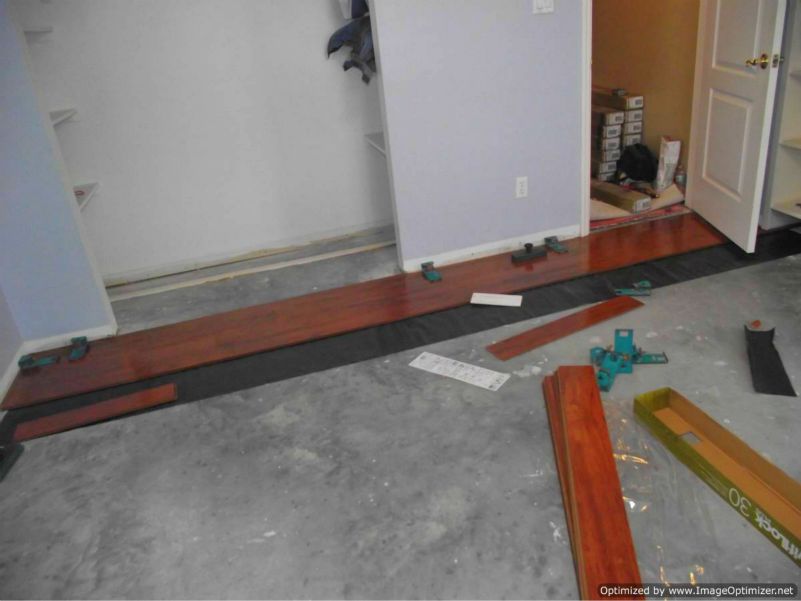
Starting installation at doorway |
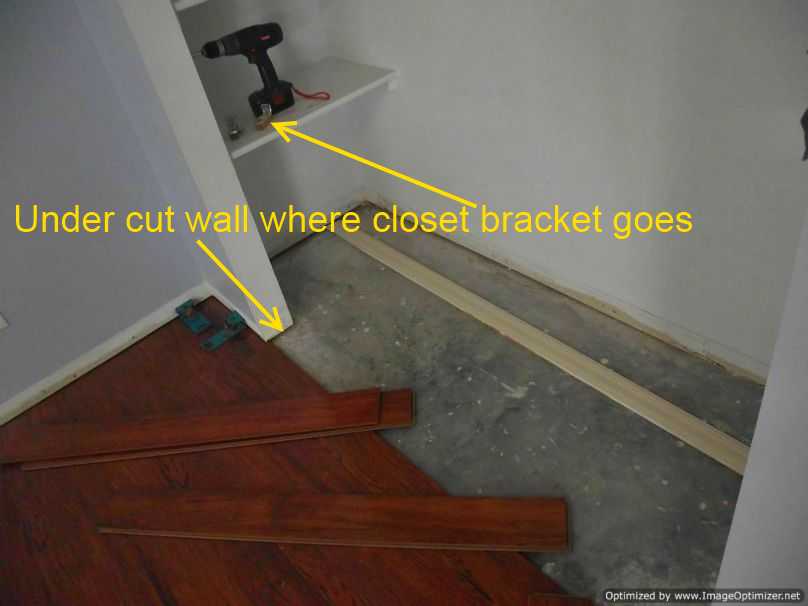
I under cut wall where closet door bracket goes |
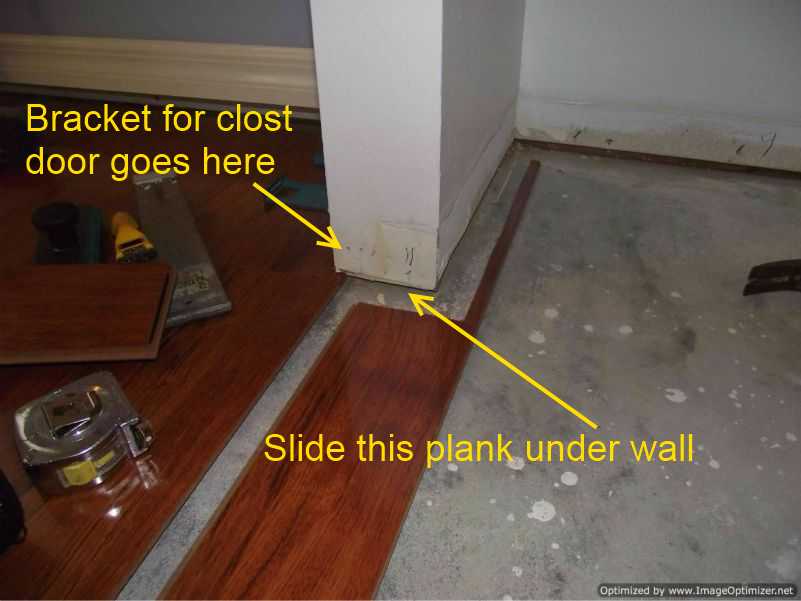
Slide board under wall that was under cut |
Swiftlock Plus by Shaw Review
My Over All Opinion of This Laminate
With the problems I had installing this laminate, I wouldn't recommend it to a do it yourself consumer. It was kind of difficult for me and I have been installing laminate for over ten years.
The floor looked good when installed, but for the money and hassle I would not use it. I have seen 12 and 14mm laminates for about the same price including shipping. Check them out at this merchant below.
